I’ve got some things to say about this solar automatic coop door by Chickcozy. Getting it up and running was SO FRUSTRATING 😤 and took me several days. At one point, I had three separate doors in my possession, desperately trying to get just one to power on. I’m about to tell you some crucial information nobody else is sharing about this solar coop door and save you the trouble.
The Reason Your Chickcozy Solar Door Won’t Turn on
Here it is: ✨ After sitting in a warehouse for a while, the battery goes into a protection mode, and the control box fully powers off. It WILL NOT TURN ON UNTIL the battery charges to a certain level. This can take 1-3 days (depending on the level of charge/light available). ✨
Chickcozy released this door in March 2025. I didn’t buy mine until five months later. Which means my door was indeed sitting in a warehouse for several months. That’s why early reviewers, who received their doors right after release, didn’t run into this issue. Their control boxes still had charge from the factory and turned on right away. Ultimately, I do absolutely love this solar chicken coop door. I’ll tell you exactly what happened and how I installed it. Ready to get one? Grab your Chickcozy Solar Automatic Chicken Coop Door here.
Why I love this door:
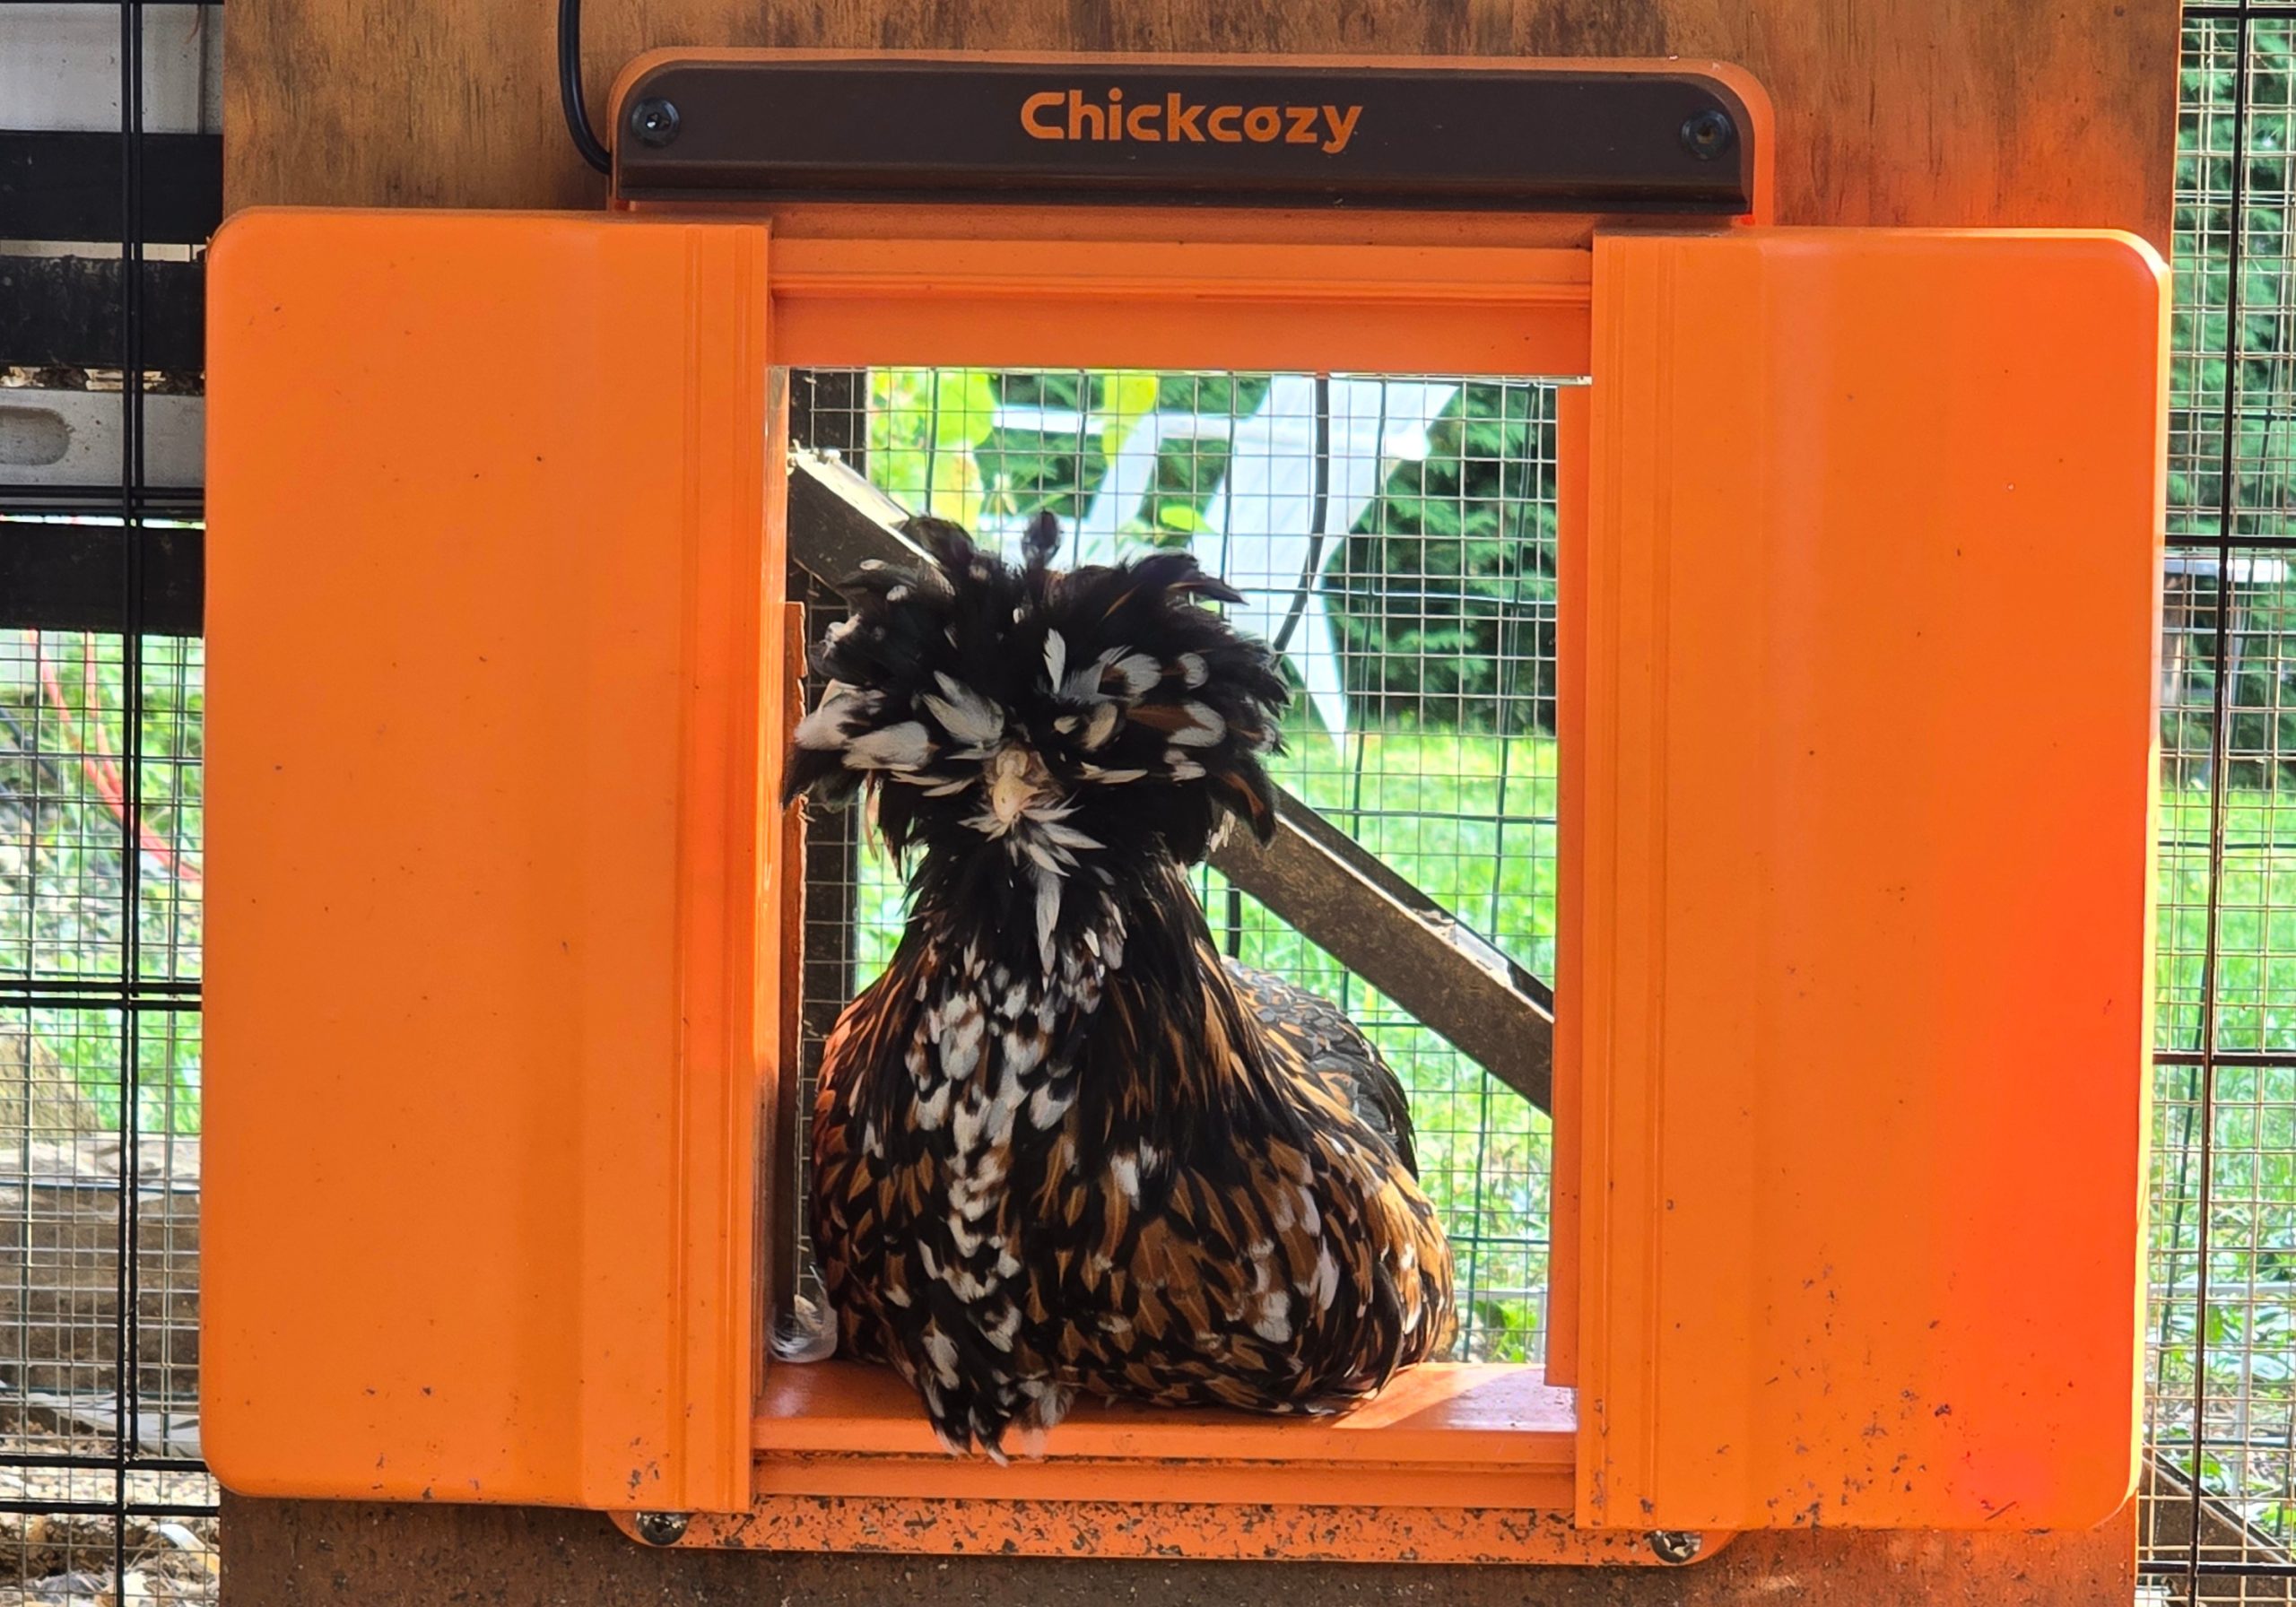
- It is predator proof 🦊🦝🦅 – Sturdy AF. The plastic is much thicker than the first version. The only predator that might defeat this door is a bear. Even then, it’ll be a real challenge if you used bolts like I did. If you’re placing this inside a protected run, have a livestock guardian dog or an electric fence, then I wouldn’t worry about bears.
- It’s completely solar. ☀️ It’s the perfect choice for coops without electricity. On just one day of charge, this door runs for an entire week. It’s never died on me. Not once, even placed in a partial sun spot. After my initial debacle, I worried at first—but it pleasantly surprised me.
- It functions on one of 3 different modes: 🌞🌜⏰ manual, light sensor, or time. You can add delays for the light sensing mode. This is my favorite mode. It opens with the sunrise and closes at sunset. As the days grow shorter or longer, I never have to reprogram my coop door.
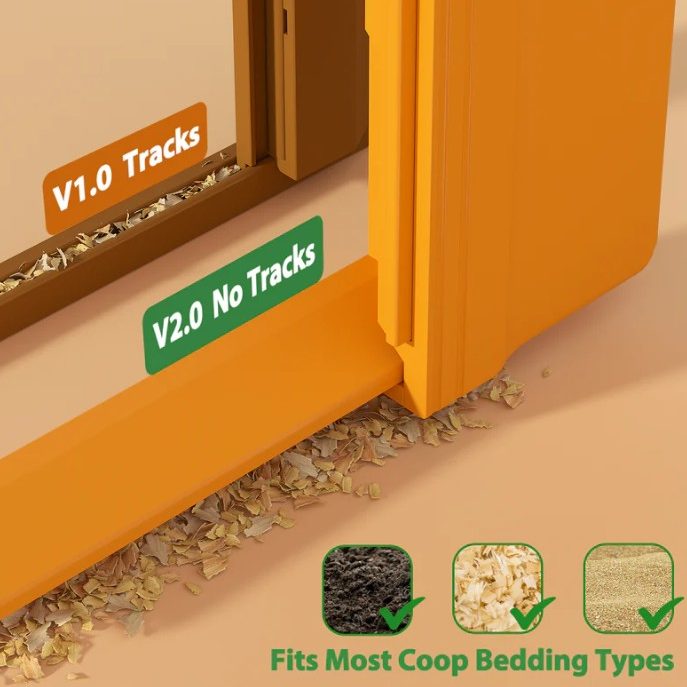
- The new no track design prevents blockages. ⏭️ This is a must for an automatic coop door. Genius really.
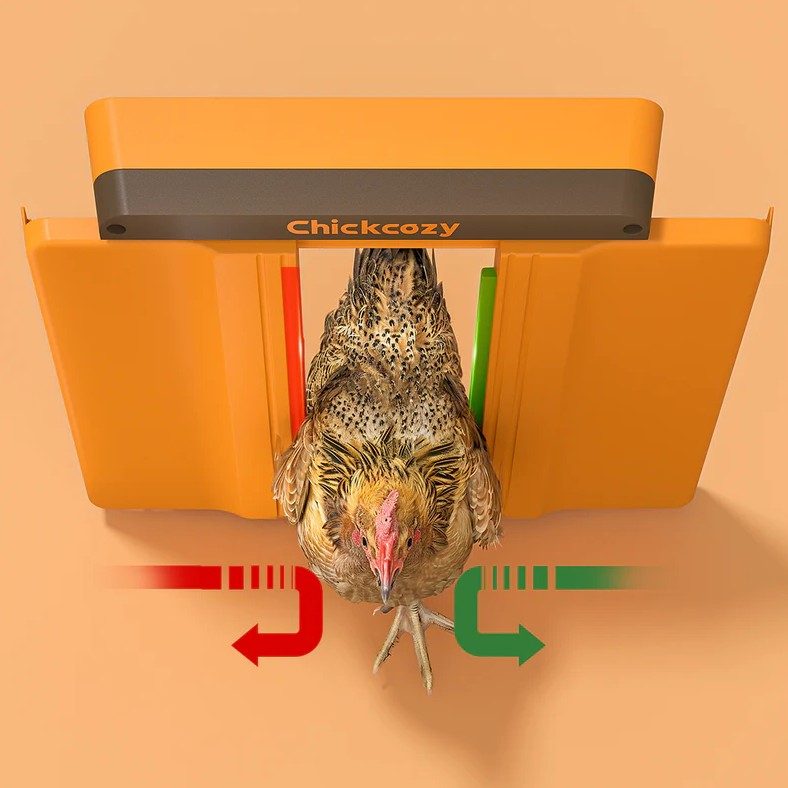
- It comes with the standard anti-pinch function so there are no accidents. 🫶
Things to Improve:
- Obviously my first gripe, this door should come with a notice explaining the battery protection mode. 🔋 I was going insane trying to get the control box to power on. I left it in the sun for a full day and nothing. I truly believed the solar panel was defective. So, I ordered a replacement from Amazon. To my dismay, it also did not power on after one full day in the sun. I contacted Chickcozy directly and received an explanation on how the battery protection mode works. I ordered a third door directly through their website in hopes to get a control box that had some charge in it. But by the time this third door arrived, the second control box had finally turned on after charging for three full, but semi-cloudy days. Needless to say, I returned the other two doors. Not my finest homestead moment, lol.
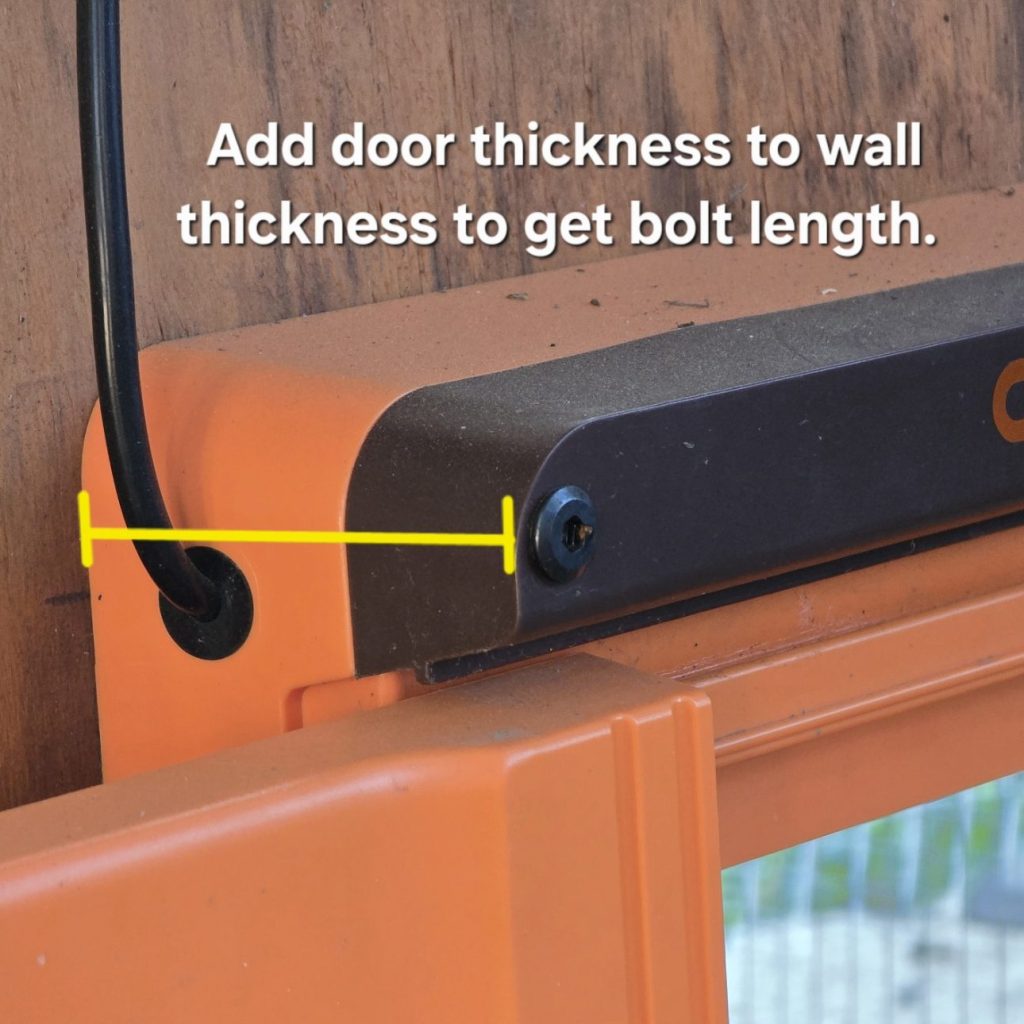
- Chickcozy built this door for installation with screws. 🔩 That’s a no go for me. I used bolts instead so not even a bear can rip this door off. I did have to use a drill bit to make the screw holes slightly larger to accommodate my bolts. The perfect bolt thickness is M6. I used these ones from Amazon but you’ll need to confirm the thickness of the door plus the thickness of the coop wall you’re mounting it to and order the length you need.
- The cord is only 6 ft. 📏 This doesn’t bother me, but I know others may desire a longer power cord depending on their setup. I was unable to find a longer cord that would work.
- The price. 💰 It is a little steep, but I do believe it’s worth it. I paid $180 for mine but at the time of writing this post it’s $130 on Amazon. You’ll likely never have to buy another coop door again. Unless you get an additional coop, lol chicken math. After burning through a graveyard of cheap $60-80 Amazon doors that only last six months, I could have bought two of the Chickcozy doors.
How to Install the Chickcozy Solar Automatic Chicken Coop Door
My first mistake 🚫: I installed the door before charging it and testing it out. Don’t do this! At the time, I rushed because rats had taken two of my 9-week-old chicks (yes, rats!) and I needed to lock this coop down fast. I installed the door as soon as I opened it but when the door refused to wake, I had to manually let my flock in and out for several days while I waited for the solar panel to charge the control box. Picture me stumbling outside at dawn in boots and bedhead. Not exactly the glamorous witchy life, but we do what we must for the flock.
Instructions – My recommended alterations:
- ☀️ Charge the solar panel in direct sunlight for 1-3 days before you do anything. Once the battery reaches about 25% charge, it emerges from protection mode. Do not proceed with the install until the control box is on and functional. In the meantime, order your bolts if needed.
- If using the provided screws, skip steps 2 & 3.
If larger predators are present where you live, I recommend altering the door and bolting it to the coop wall. Measure the thickness of the wall plus the thickness of the coop door and choose a bolt length. The bolt needs to go all the way through with a little extra length for the wingnut to screw on the end. Keep in mind the bolt head sits on top of the deep counterbored screw hole, not inside like the screws do. Also, the top of the solar coop door is thicker than the bottom part. I needed M6 x 100mm bolts for my total thickness.
- 🔩 When the control box powers on and you’re ready to install, use a drill bit that’s just a tad wider than the screw holes to make them larger to accommodate your M6 bolts. Skip this step if you’re using the provided screws.
- 📍 Deicide on the placement. The sunniest spot for the panel is best, although mine works just fine in partial sun.
- 🪚 Cut an opening in your coop wall according to the instructions in the manual.
- 🛠️ Hold the coop door in place against your new opening (use a small level for our OCD) and mark the hole locations.
- 🐓 Attach the door – screw or bolt on. For our bolt users: use the same drill bit size you used on the door earlier and drill your holes in your coop wall. Attach the door with your bolts. Tighten the wingnuts from backside against the inside coop wall.
🌙 Final Thoughts
That’s it! After the door powered on, install was easy. It has functioned perfectly for me even in partial shade and with multiple rainy days in a row. I highly recommend this solar automatic chicken coop door. 🔒✨ If you found my trials and tribulations useful, and you’d like to get one for your flock, here’s the link: Purchase on Amazon. I’ll get a small commission for my pain and suffering, lol.
Trust me—once it’s awake, it’s worth every penny.
Leave a Reply